Sunday, 10 August 2014

Learning to draw straight lines - sewing the foxy cushion

Yet another abandoned project you ask? The Baby Corn dress has had a bit of a rough summer, first when I tried it on half-way through knitting it, only to realise that it was gigantic and I would probably never wear it. At that point I decided that I should rip it back to the bust and decrease the number of stitches to make it narrower, and then convert it into a top - something a bit like the Petrie shell, which I wear quite a lot. And then I was on holiday for 2 weeks and had to put it down. But I am determined to finish it eventually!

Poor Baby Corn - back to square one

Summer is apparently the month when a lot of knitters I know pick up their sewing. I was in a bit of a confusion as to whether I wanted a loom or a sewing machine for my birthday, so I just didn't decide and the decision was made for me - a sewing machine is now mine!

When I opened the box and took it out, I was terrified - so many buttons and dials, some many bits and pieces that I could break or lose. My friend, a seasoned sewer (or sewist?), reassured me that it is easy once you to grips with it, so when we got back from holiday I decided to brave some sewing.

After the initial terror of not having a clue how to use it, I managed to experiment using cut-offs from a dress that was in my charity bag, learning to sew in a straight line, and hemmed (very badly!) a pair of tracksuit bottoms that I had cut into shorts a while back.

At that point I felt ready to start a real project - I picked an envelope cushion cover from Sewing Machine Basics, the book I bought to teach myself. As the book suggests, this is a good first project because all you need to know is how to sew in a straight line and how to do a double hem.

The cushion is made in three pieces, a complete front piece and two back pieces that overlap to form, as the name suggests, an envelope. After ironing the fabric (advice from the other book I bought, Love at First Stitch), I drew the cushion measurements and cut them up.
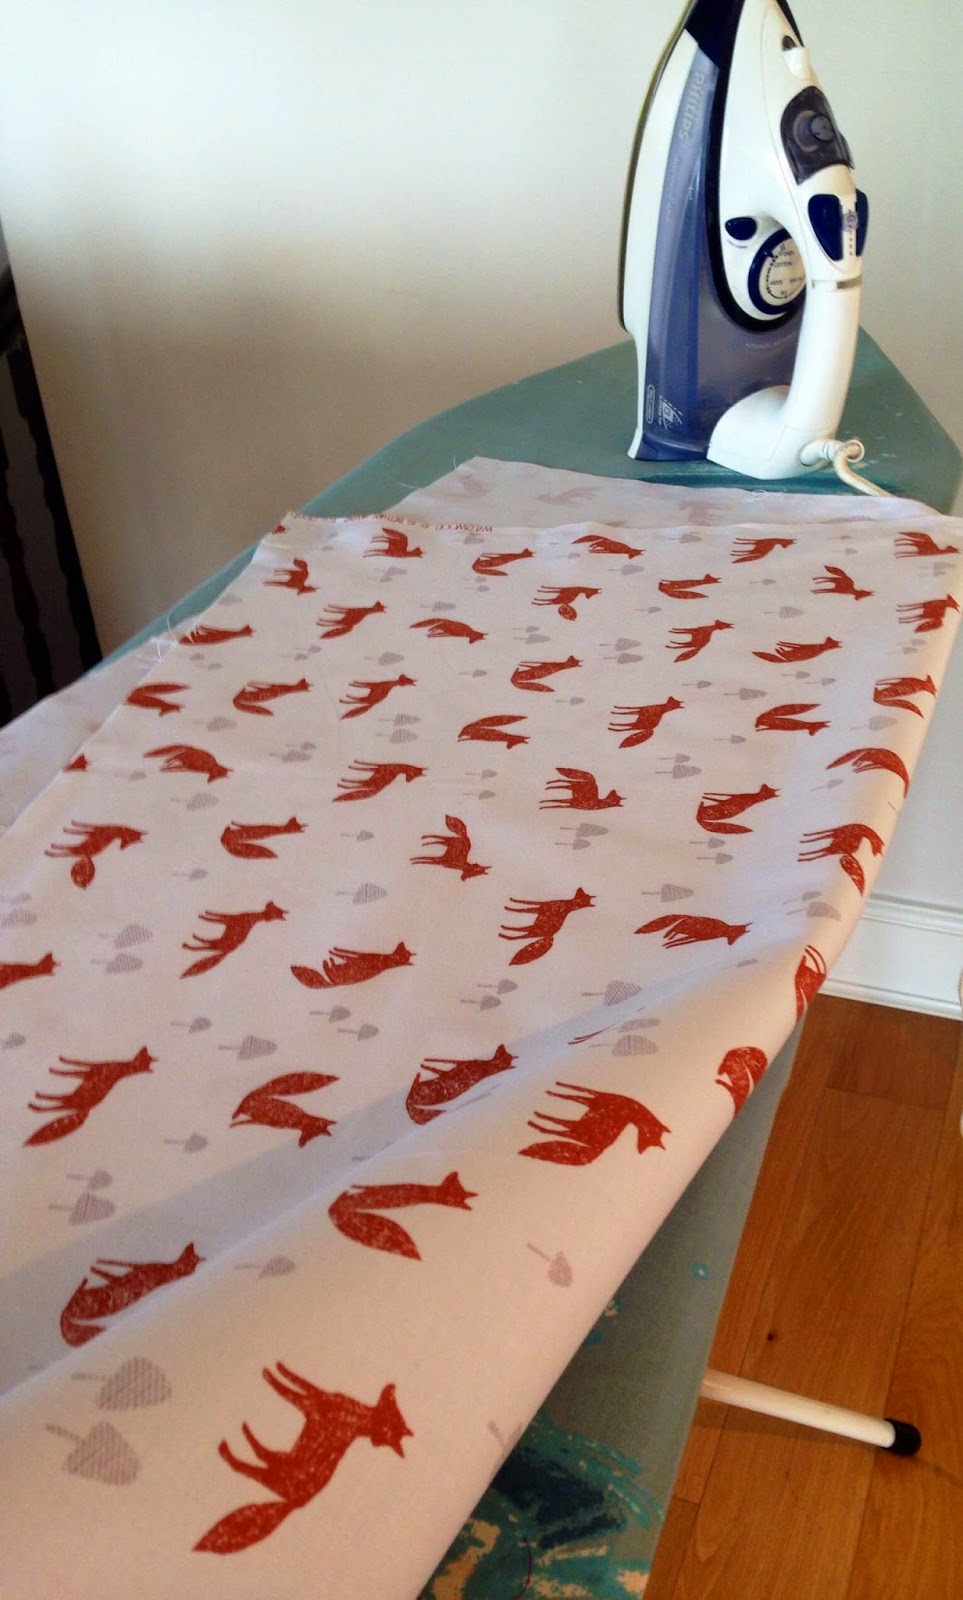


That was lesson number one. After I hemmed the pieces and assembled them, I realised what a terrible job I had done in measuring and cutting, as they were nowhere near properly aligned and overlapping! Apparently using a ruler does not guarantee that your lines will be straight. Apparently, also, it might be a good idea to do all of this on a table instead of the floor.


This is where my impatience rises up and makes itself known. Of course what I really wanted is to get the sewing machine and be able to make beautiful dresses and accessories immediately. So clearly I'm not there yet. But no matter, the cover may not be perfect but it still fits the cushion and the dodgy stitching is either hidden inside the cushion or not visible because of the white on white background.


Tuesday, 24 June 2014

Emerging from silence, and new project - baby corn

Yes, it has been a while! The post dated April 5th has been taunting me for over 2 months now, filling me with guilt about abandoning the blog. But I have been busy, travelling, working, not sure what else but somehow all spare time has gone.

Plus there hasn't really been anything to write about - the sweetheart jumper is still hibernating (one day...). 

Baby Corn, knitted top down
However, I have started, rather ambitiously as usual, a summer dress. It is Baby Corn from the Stitch 'n Bitch Superstar Knitting book, which is aimed at, ahem, advanced knitters. I've already made the Tulip Top from there, which I absolutely love and wear all the time, and have been eyeing a bunch of the summer projects for ages. 

In case you are wondering, the dress is named as such because the designer used corn yarn - yes, corn yarn. As much as this intrigues me, the yarn has been discontinued so I will not have the pleasure of experiencing a corn garment just yet.  

I say 'rather ambitiously' because it is obviously already almost the end of June, so I really need to be done within the next month if I want to wear it as a summer dress. At the moment, about 2.5 weeks into it, I guess I am close if I want to switch it to a top, but there's still a long way to go if I stick to a dress. The problem is that I wanted an easy, no-brainer project and actually I am now bored of doing row after row of stockinette. The only saving grace is that it is knitted on the round, so I don't have to deal with evil purling.

Close-up of the rib,
which forms the bust of the dress
 Also, all sort of weird things have been happening during this knit. The pattern called for sport yarn and 4.5mm needles, but I bought DK yarn and my gauge seemed ok with 4mm needles. As I was working on it I decided it looked a bit big so I switched to my 3.75mm needles, which I somehow managed to break (I am never buying the plastic ones again!), at which point I switched back to the 4mm ones. Then I got worried again so I switched to the 3.5mm needles, but then it seemed to be getting very tight, so back to 4mm needles I went. I probably should have unravelled but it actually looks pretty even miraculously!

Similarly, after finishing the bust part of the dress you are supposed to make a load of stitches, going from 160 to 240. But when I counted mine I somehow had managed to only get to 200 stitches, so I proceeded to randomly making another 40 on the next row. Again, I should have unravelled but I decided to stick to my haphazard ways.

Will I finish this before going on holiday on July 18th? Let's see!

Saturday, 5 April 2014

A knitting owlette original - the maymay headband

Since I started knitting, like most people I have followed patterns, seeking inspiration through the many pages on ravelry. I have modified patterns to better suit my tastes or needs, but that's where it ended. But the other day I thought: why not try to design some of my own?

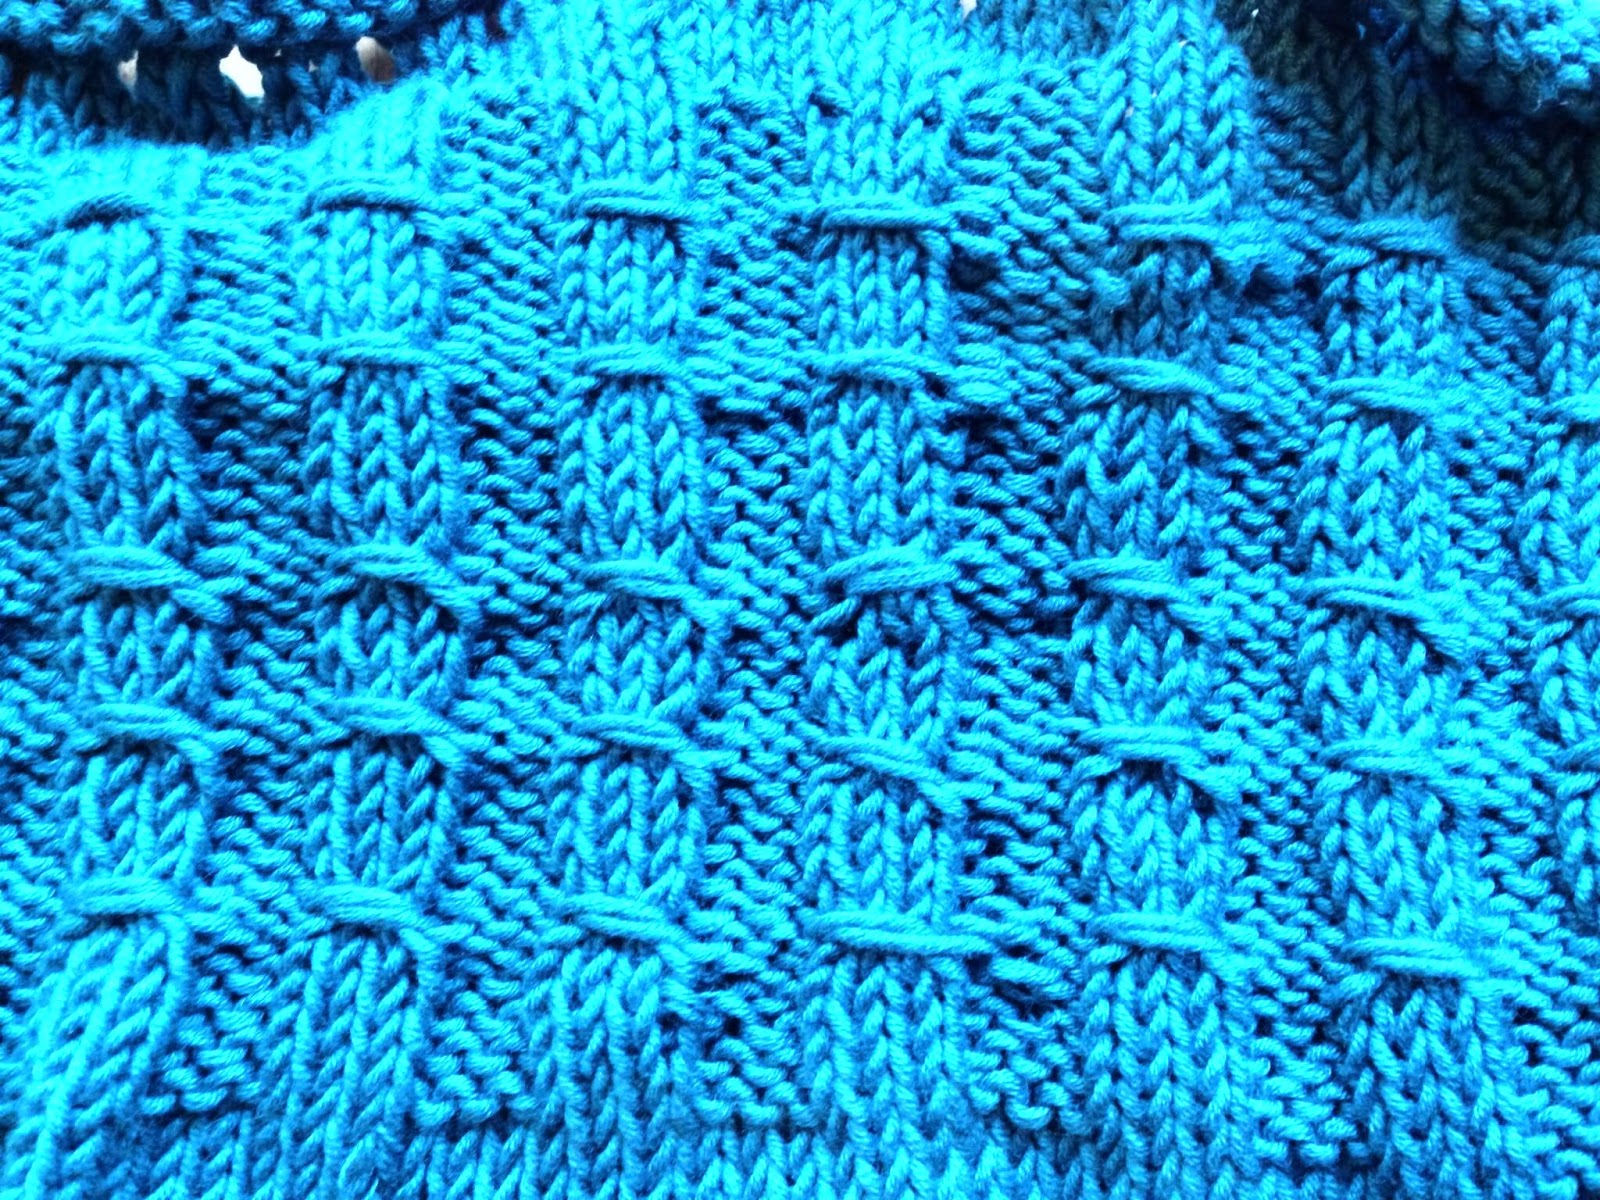
Given my headband obsession, it seemed fitting to start there, and so I present the maymay headband. This cute little accessory (which is a little weather-inappropriate in the UK at the moment) will keep your ears warm and not mess up your hair. It is based on the xoxo honeycomb pattern, surrounded by 3 rows of 2x2 rib to provide elasticity. 

If you are wondering about the name, it is named after the phrase for I love you in Furbish - yes, Furbish (remember Furbies from the late 90s?). Given that the pattern is xoxo (ie hugs and kisses) and that I made it for my friend Kathryn who I used to use the phrase with, it just seemed right! 

Materials
5mm circular needles, cable needle
Yarn: Manos de Uruguay wool classica (or other similar aran-weight yarn)

Gauge
I had some trouble calculating this (first time and all) but the gauge will not be massively important unless you are way off
13 stitches in xoxo honeycomb pattern= 2 inches

Abbreviations
k: knit
p: purl
c4b: place 2 stitches on cable needle and hold to the back, knit the next 2 stitches and then knit the stitches on the cable needle
c4f: place 2 stitches on cable needle and hold to the front, knit the next 2 stitches and then knit the stitches on the cable needle

Pattern
Cast on 90 stitches and join in the round, being careful not to twist
Row 1: *k2 p2*, repeat until last 2 stitches, k2
Rows 2,3: repeat row 1
Rows 4, 5: k across
Row 6: k *c4f c4b c4b c4f* repeat from * until last 5 stitches, c4f c4b k
Rows 7, 8, 9: k across
Row 10: k *c4b c4f c4f c4b* repeat from * until last 5 stitches, c4b c4f k
Row 11: k across
Repeat rows 4-11 once more
Next 3 rows: repeat rows 1-3 once more
Bind off loosely, hide the loose ends and block lightly

That's it! Pretty simple but gives a very interesting cable that looks like XO.

XO or hourglass I guess?


I tried to write everything out as detailed as possible, but I have missed anything please let me know so that I can bear in mind for next time or modify this pattern. I have also added it on ravelry.


Wednesday, 2 April 2014

A hood obsession

I have developed a slight hood obsession, quite possibly because we had quite the rainy winter here in the UK. Not only rain, but wind too, which usually means that there is no way you can hold an umbrella up.

Yes, hoods are clearly the answer, but not all my coats have hoods, so what is a girl to do? Well, knit one (or two) of course!

The first one is the Under the cover of midnight cowl from the vampire knits book - not really a hood per se, more like a giant cowl that you can pull over a head to cover your hair. I made this over Christmas but have just been too lazy to write about it for some reason.

The yarn is Colinette One Zero, a bulky loveliness that I picked up at the Alexandra Palace knitting show in October. At the time I was torn between this cowl and the Woodland hoodie from the Woodland Knits book (also picked at the Alexandra Palace knitting show), and so I bought 5 skeins, a compromise between the 4 skeins of the midnight cowl and the 6 skeins of the woodland hoodie.

As it turns out, only 3 were necessary, although I have a vague memory that I may have stopped a little short than what the pattern actually called for because I was on holiday away from home with 3 skeins and wanted to finish it before I got back.

Warding off vampires by covering the neck

As a hood

As a capelet

close-up of the cable


The second hood is actually a crochet hood plus scarf combo - is that called a scood? or a harf? No idea. Anyway, I saw this in Mollie Makes issue issue 37, and it is originally from Aran Nordic Fair Isle translated into English from the original Japanese.

For a change I actually bought the recommended yarn, Drops Karisma, which is insanely cheap for 100% wool and fairly decent, although not as soft as what I would normally go for (I bought it online so lacked the tactile element of the buying process, which normally involves me gently rubbing the skein against my face, weird!).

I thought I had checked my gauged properly, but as I was making it I realised that it was much bigger than what the pattern said,  thankfully early enough to not do two pattern repeats at the top/middle bit of the hood. Similarly, I made the scarf ends shorter (instead following the length directions, although one side is shorter because I ran out of yarn). I also added a slit at the start left scarf to pass the other end through, but it's not been incredibly helpful.


close-up


I can't decide if I like it or not, it doesn't quite look like a scarf when worn (I was jokingly called babushka because it looks more like a headscarf), and the scarf bit of it is not especially warm, so a little pointless.